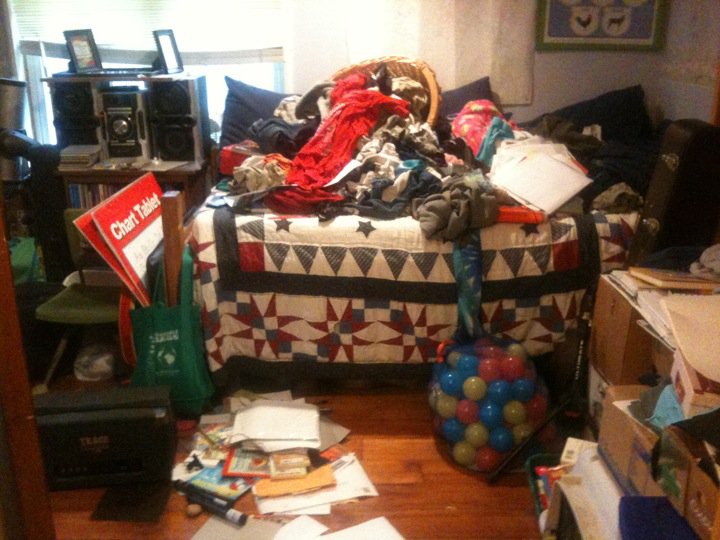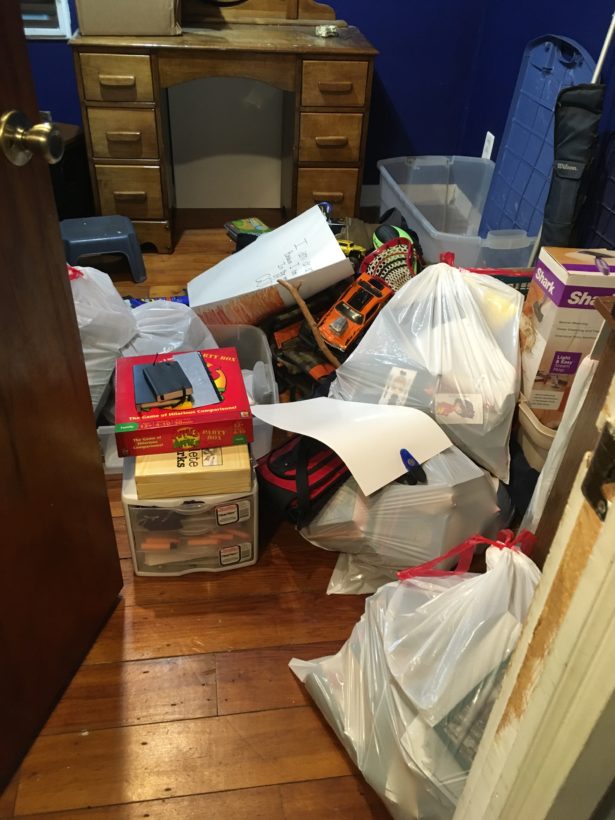
Step 1: Give notice- This step not only gives your child fair warning that the day of reckoning is coming, but is also gives you time to stock up on garbage bags, chocolate, and ear plugs. You might want to psych yourself up for this by watching a few episodes of hoarders. Do they have a teen edition? Someone should do that.
Step 2: Clear the Calendar- The general rule of a construction project is to anticipate the job lasting twice as long as the initial estimate. You, however, are not working with professional contractors; you are working with a hostile teen. Triple the amount of time it would take you to do the task alone. Haha, just kidding. Multiply it by 10.
Step 3: Prepare the staging area- Prepare space in your house to lay out all of the items from you teen’s room. Everything is coming out. Everything! So the goal is to be able to spread it out. Yes, your home will look terrible for a few days, so don’t plan to have your boss over for dinner. (See step 2.)

Step 4: Empty- This seems like a simple task. You carry the items out and then your put them down in the staging area. Shockingly, this is a difficult concept to grasp for the adolescent mind. Be prepared to answer questions like, “Does that include….” and “Am I finished, yet?” which for the adult mind seem illogical if one is asking them while standing in a room full of things. My rule is that only large furniture or things fastened to the wall remain. (Dresser drawers come out, dresser remains.)
Step 5: Scrub- If your teen is like mine, this is a good time for the annual washing of the sheets. Pull large furniture away from the walls. Chances are you will find more “stuff” behind these heavy items. It is also time to introduce them to cleaning products so they can scrub the floors and maybe the walls and baseboards.

Step 6: Sort- Items are either trash, donate, or keep. Every paper, book, pair of shoes, and toy is individually classified. This takes the longest time. I know after you see how long “Empty” takes, you will believe in purgatory, but trust me, the end result is worth the pain.
Step 7: Guided Re-entry- Like with rockets, the re-entry method matters or you might have a disaster on your hands. Consider putting a chair just inside your child’s room and asking them what is coming in, and where they are going to put it. You are the gate keeper. Live it! Perhaps sip on a cold beverage and nibble on some chocolate while you inspect. “No, you are not bringing that dirty ____________ back in this room. It’s disgusting.” “Why do you need 3 basket balls?” “You don’t need more storage, you need less things.”
Step 8: Removal- Ideally, your house is now cluttered with bags of trash to be taken to the curb and bags and boxes of donations for charity. Unless ordinances prohibit this, take the trash to the curb now or at least anything good that trash pickers might thank you for. Take your teen with you to the donation center to help lug their items inside. No point in you pulling out your back because they decided to hold onto every toy they have ever owned. Don’t just put it in the trunk of your car to live for the next 6 months. The job isn’t over until you slam the trunk at the charity of your choice.
Step 9: Revel- Your child will assure you that you did nothing, and they in fact cleaned their entire room “without your help.” This might be true, but supervising the cleaning is far more stressful and a whole lot more work than doing the job yourself. So snap a few pictures and go watch a movie. You deserve it!

